Free VNC Viewer For Windows 10: Your Ultimate Guide To Pi IoT Control
Let’s cut to the chase, folks. If you’re here, chances are you’re trying to figure out how to use a VNC viewer on Windows 10—specifically for Pi IoT projects. Whether you’re a tech enthusiast or just starting out, getting remote access right can be tricky. But don’t sweat it—we’re about to break it down step by step so you can rock your Pi IoT setup like a pro.
Remote access is one of those things that sounds super complicated until you actually get the hang of it. With the rise of IoT devices and Raspberry Pi projects, having a reliable VNC viewer for Windows 10 is no longer a luxury—it’s a necessity. This guide is here to make sure you don’t waste hours troubleshooting or end up paying for software when there are perfectly good free options out there.
Before we dive in, let me give you a quick heads-up. We’ll cover everything from setting up your VNC viewer to troubleshooting common issues. You’ll learn about free tools, best practices, and some insider tips to make sure your Pi IoT projects run smoothly. So grab your coffee, and let’s get started!
Read also:Linda Purl The Hidden Gem Of Hollywoods Talent
Why VNC Viewer is Essential for Pi IoT Projects
Alright, let’s talk turkey. If you’re working on Pi IoT projects, having a solid remote access solution is non-negotiable. VNC Viewer isn’t just another tool—it’s your go-to companion for managing your Raspberry Pi remotely without needing to physically connect to it. Think of it as your remote control for all things Pi.
Here’s why VNC Viewer is a game-changer:
- Efficiency: No more unplugging and reconnecting monitors. You can access your Pi from any Windows 10 device.
- Convenience: Work on your IoT projects from anywhere, whether you’re at home or on the go.
- Cost-Effective: Free VNC Viewer options mean you don’t have to break the bank to get top-notch functionality.
For anyone serious about IoT, VNC Viewer is more than just software—it’s a lifeline. Let’s explore how you can set it up without spending a dime.
Choosing the Right Free VNC Viewer for Windows 10
When it comes to VNC Viewers, options abound. But how do you pick the right one? Let’s break it down. For Windows 10 users, there are a few standout options that offer both functionality and reliability without costing you a penny.
Top Free VNC Viewer Options
- RealVNC Viewer: A trusted name in the VNC game, RealVNC offers a free version that’s perfect for personal use. It’s user-friendly and works seamlessly with Raspberry Pi.
- TightVNC: Known for its lightweight design, TightVNC is great if you’re working with older hardware or need something fast and efficient.
- UltraVNC: Another solid choice, UltraVNC is packed with features and offers good performance for most use cases.
Each of these options has its strengths, so your choice will depend on your specific needs. For most Pi IoT projects, RealVNC Viewer tends to be the fan favorite thanks to its ease of use and compatibility.
Step-by-Step Guide to Setting Up VNC Viewer on Windows 10
Now that you’ve picked your VNC Viewer, it’s time to set it up. Don’t worry—this part’s pretty straightforward. Follow these steps, and you’ll be good to go:
Read also:Where Is Brian Fichera Unveiling The Man Behind The Mystery
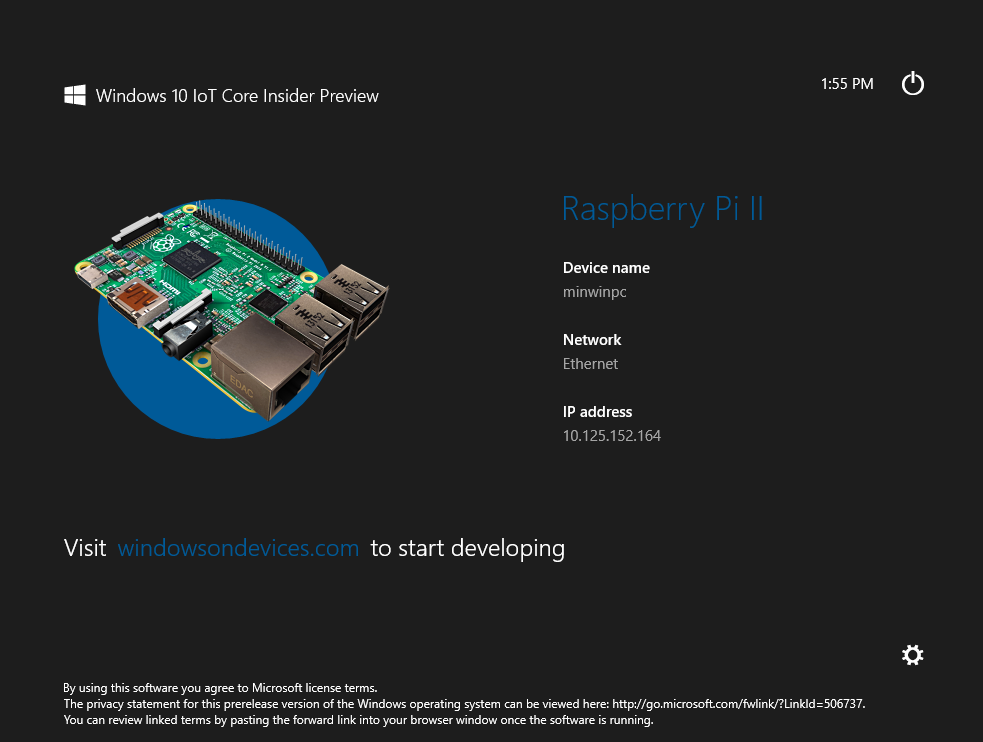
Step 1: Install VNC Server on Your Raspberry Pi
First things first, you need to set up the VNC Server on your Raspberry Pi. Here’s how:
- Boot up your Raspberry Pi and log in to the desktop environment.
- Open the Raspberry Pi Configuration tool (you can find it in the Preferences menu).
- Go to the Interfaces tab and enable VNC.
- Reboot your Pi to apply the changes.
Once the VNC Server is up and running, you’re ready to move on to the next step.
Step 2: Download and Install VNC Viewer on Windows 10
Now it’s time to set up the VNC Viewer on your Windows 10 machine. Here’s what you need to do:
- Head over to the official VNC website and download the free version of VNC Viewer.
- Run the installer and follow the on-screen instructions to complete the installation.
With VNC Viewer installed, you’re almost ready to connect to your Pi.
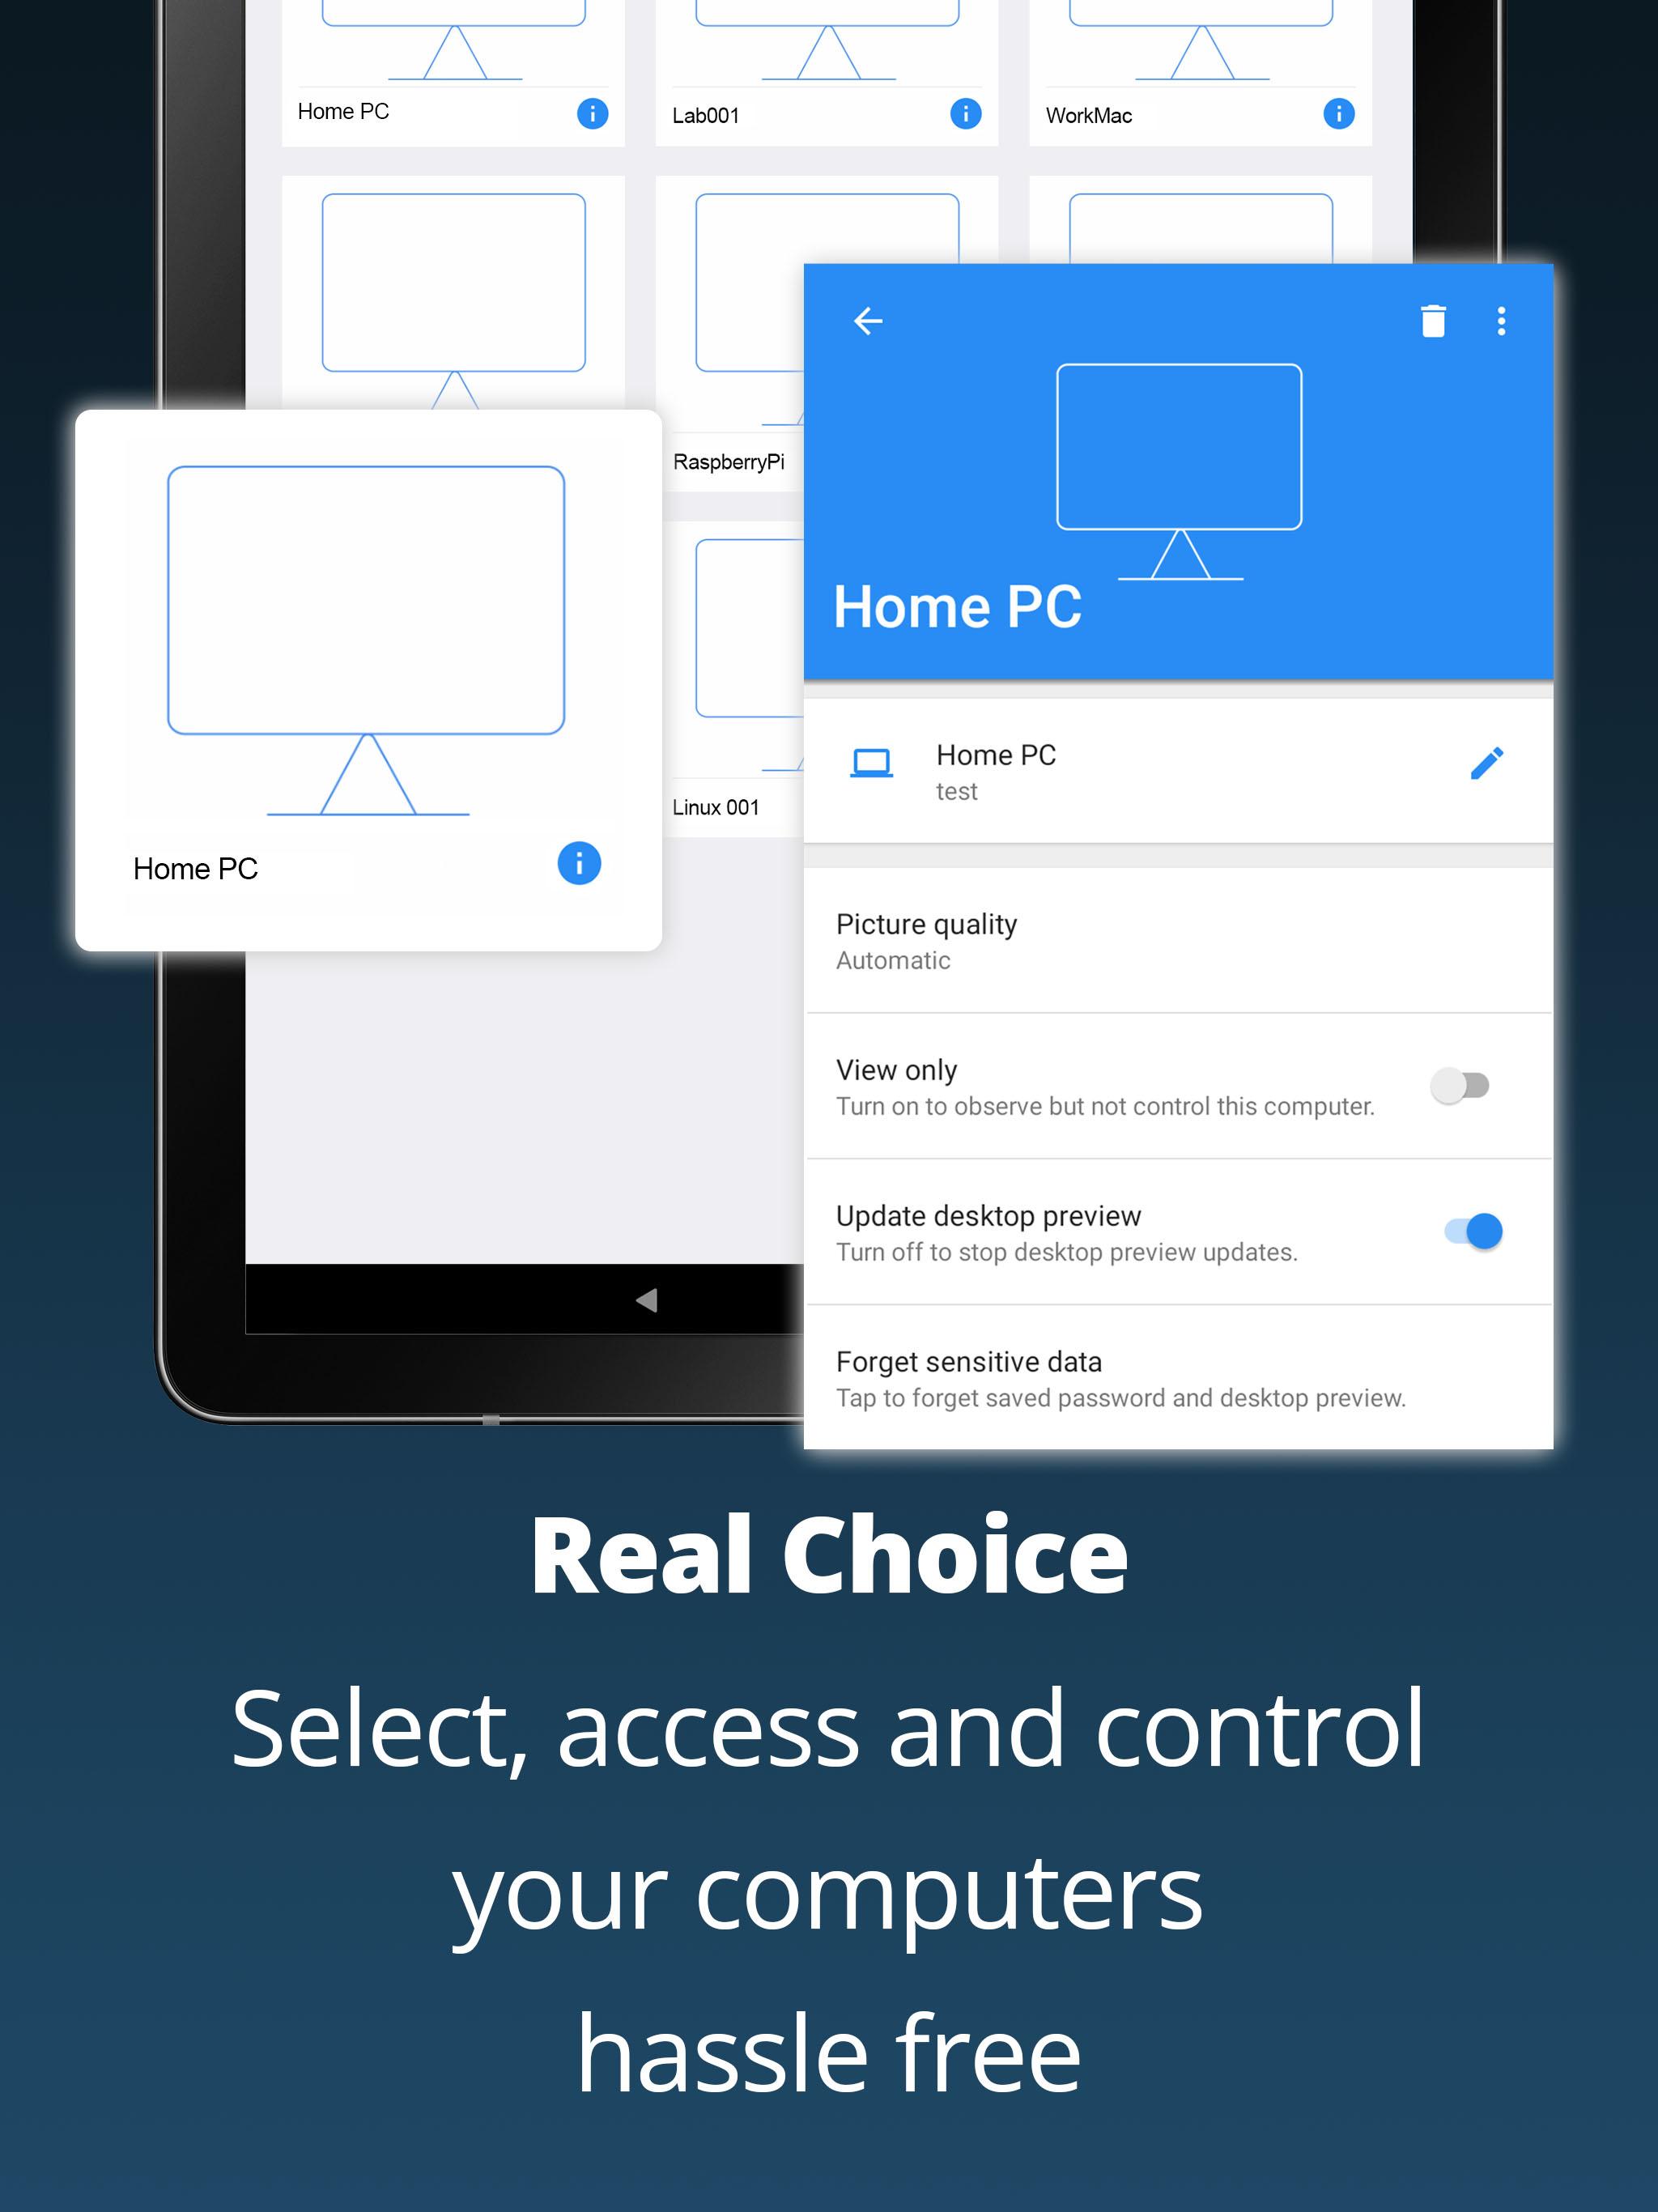
Step 3: Connect to Your Raspberry Pi
The final step is to establish a connection between your Windows 10 device and your Raspberry Pi. Here’s how:
- Open VNC Viewer and enter your Pi’s IP address in the New Connection field.
- Click Connect and enter your Pi’s credentials when prompted.
- Voilà! You should now have full remote access to your Raspberry Pi.
That’s it—you’re all set to start managing your Pi IoT projects remotely. Easy peasy, right?
Best Practices for Using VNC Viewer with Pi IoT
Now that you’ve got VNC Viewer up and running, let’s talk about some best practices to make sure everything runs smoothly:
- Use Strong Passwords: Security should always be a priority, especially when dealing with remote access. Make sure your Pi has a strong, unique password.
- Keep Software Updated: Regularly update both your VNC Viewer and Raspberry Pi OS to ensure you have the latest features and security patches.
- Optimize Your Connection: If you’re experiencing lag, try tweaking the settings in VNC Viewer to improve performance.
By following these tips, you’ll be able to maximize the potential of your VNC Viewer setup and avoid common pitfalls.
Troubleshooting Common VNC Viewer Issues
Even with the best setup, issues can arise. Here are some common problems users encounter with VNC Viewer and how to fix them:
Issue 1: Unable to Connect
Can’t connect to your Pi? Double-check the following:
- Make sure VNC Server is enabled on your Raspberry Pi.
- Verify that the IP address you’re using is correct.
- Ensure there are no firewalls blocking the connection.
Issue 2: Slow Performance
If your connection is sluggish, try these solutions:
- Lower the screen resolution in VNC Viewer settings.
- Disable unnecessary visual effects on your Pi.
- Consider upgrading your network hardware if the issue persists.
With these troubleshooting tips, you’ll be back up and running in no time.
Exploring Advanced Features of VNC Viewer
Once you’ve mastered the basics, it’s time to explore some of the advanced features VNC Viewer has to offer. These tools can take your Pi IoT projects to the next level:
- File Transfer: Transfer files between your Windows 10 device and Raspberry Pi effortlessly.
- Remote Printing: Print documents directly from your Pi to a printer connected to your Windows 10 machine.
- Clipboard Sharing: Copy and paste text and images seamlessly between devices.
These features make VNC Viewer an indispensable tool for anyone serious about IoT development.
Real-World Applications of VNC Viewer in Pi IoT Projects
Let’s talk about how VNC Viewer can be applied in real-world Pi IoT projects. From home automation to environmental monitoring, the possibilities are endless:
Project 1: Smart Home Automation
Use VNC Viewer to manage your smart home devices remotely. Whether you’re controlling lighting, adjusting thermostats, or monitoring security cameras, VNC Viewer makes it all possible from the comfort of your Windows 10 device.
Project 2: Environmental Monitoring
Set up a Raspberry Pi with sensors to monitor temperature, humidity, and air quality. With VNC Viewer, you can access this data remotely and make informed decisions about your environment.
These examples barely scratch the surface of what you can achieve with VNC Viewer and Pi IoT. The only limit is your imagination.
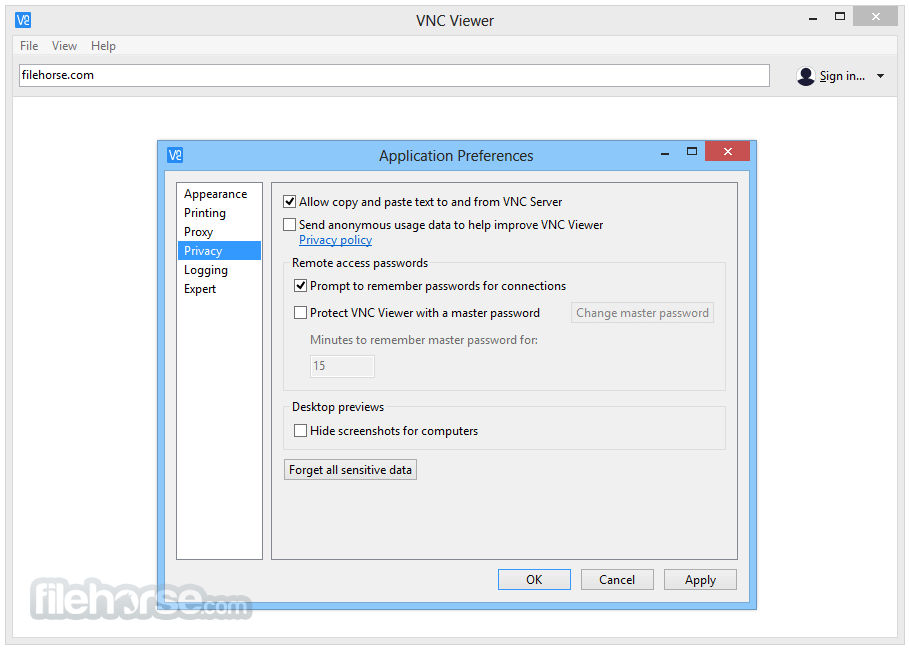
Security Considerations for VNC Viewer
Security is a top concern when it comes to remote access. Here are some key considerations to keep in mind:
- Use Encryption: Ensure your VNC connections are encrypted to protect sensitive data.
- Limit Access: Restrict access to your VNC server to trusted devices and IP addresses.
- Regularly Audit Logs: Keep an eye on connection logs to detect any suspicious activity.
By prioritizing security, you can enjoy the benefits of VNC Viewer without compromising your system’s integrity.
Conclusion
And there you have it, folks—a comprehensive guide to using VNC Viewer for Pi IoT projects on Windows 10. From setting up the software to troubleshooting common issues, we’ve covered everything you need to know to get started.
Remember, the key to success with VNC Viewer is to stay organized, keep your software updated, and prioritize security. With the right approach, you’ll be able to unlock the full potential of your Pi IoT projects and take your tech game to the next level.
So what are you waiting for? Dive in, experiment, and let us know how it goes. And don’t forget to share this article with your fellow tech enthusiasts—it’s always great to help others level up their skills!
Until next time, keep coding, keep creating, and keep pushing the boundaries of what’s possible. Cheers!
Table of Contents
- Why VNC Viewer is Essential for Pi IoT Projects
- Choosing the Right Free VNC Viewer for Windows 10
- Step-by-Step Guide to Setting Up VNC Viewer on Windows 10
- Best Practices for Using VNC Viewer with Pi IoT
- Troubleshooting Common VNC Viewer Issues
- Exploring Advanced Features of VNC Viewer
- Real-World Applications of VNC Viewer in Pi IoT Projects
- Security Considerations for VNC Viewer
- Conclusion
Article Recommendations